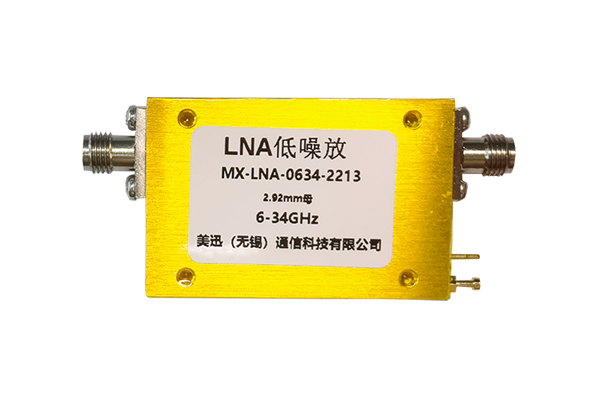
Precautions for Soldering LNA Amplifiers
- Controlling the Soldering Environment and Tool Condition Before soldering, ensure the environment is clean and dry to avoid dust and humidity affecting the soldering process. Keep away from strong electromagnetic interference sources to prevent external interference from affecting component performance. Select appropriate soldering tools, such as a temperature-controlled soldering iron, ensuring the tip is clean and free of oxidation, and that the temperature is stably controlled to avoid affecting soldering quality due to excessively high or low temperatures. Prepare auxiliary materials such as flux and desoldering wick. Choose a low-corrosive flux to prevent corrosion of component leads or the circuit board. Desoldering wick is used to remove excess solder in case of soldering errors.
- Proper Component Pre-treatment and Placement Pre-treat the core components of the LNA amplifier, such as cleaning the oxide layer on component leads and wiping the lead surface with anhydrous alcohol to ensure good contact between the leads and the pads. For sensitive components, such as low-noise transistors, take anti-static measures, such as wearing an anti-static wrist strap and using an anti-static workbench, to prevent electrostatic discharge (ESD) damage to the components.
- Strictly Follow the Circuit Diagram for Component Placement Strictly align components according to the circuit diagram, ensuring precise alignment of pins and pads. Avoid misalignment that could lead to short circuits or cold solder joints. Pay particular attention to the orientation of small surface-mount components to prevent reverse soldering from affecting circuit functionality.
- Control Key Details of Soldering Operations Control the contact time between the soldering iron and the component during soldering to avoid overheating and damage, especially for heat-sensitive components. Soldering should be completed quickly. Use a moderate amount of solder; too little will result in cold solder joints, while too much may cause short circuits between adjacent pins. Solder should evenly cover the junction of the pad and pin, forming a smooth and full solder joint. Avoid pressing components forcefully during soldering to prevent pin deformation or circuit board damage. Also, avoid dragging the soldering iron to prevent solder from sticking and causing short circuits.
- Post-Soldering Inspection and Handling After soldering, first inspect the appearance of the solder joints for issues such as cold solder joints, poor solder joints, and short circuits. Cold solder joints typically appear as rough, dull surfaces, while short circuits may show solder connecting adjacent pins. Carefully inspect the soldering of small components with a magnifying glass to ensure each pin is reliably soldered. Then clean the circuit board surface with anhydrous alcohol to remove residual flux and prevent long-term flux residue from corroding the board or components. Finally, perform a preliminary power-on test to check if the circuit is working properly; if any abnormalities are found, troubleshoot the soldering issues immediately.


