

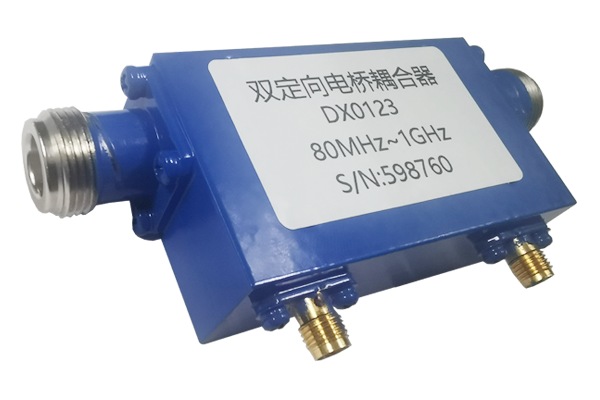


How to Wire a Bridge Coupler
step 01
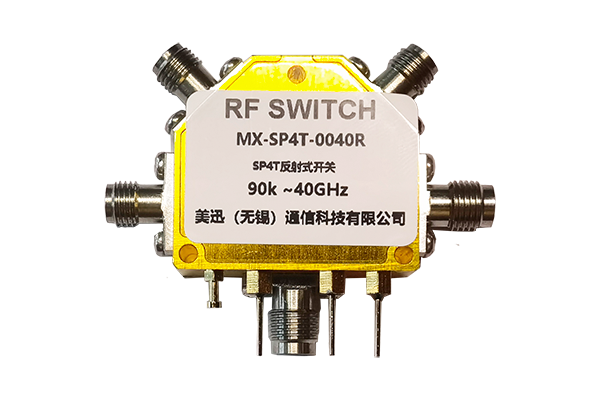
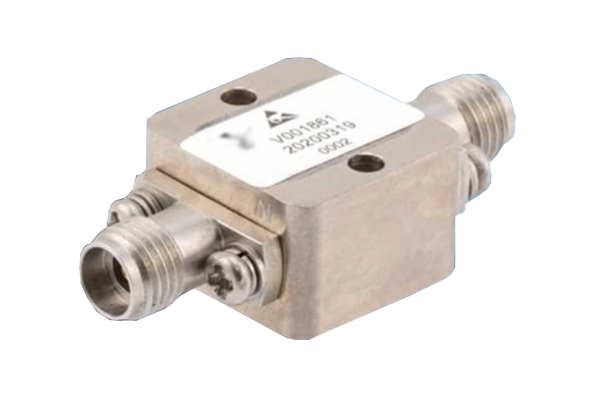
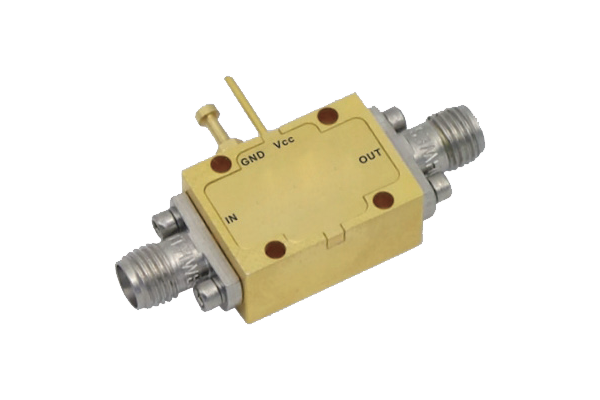
Determine Port Functions
Precise identification of RF signal roles
- Input port – primary entry point, receives external RF signals.
- Through port – transmits majority of input power, preserves main path integrity.
- Coupling port – extracts small sampled signal for monitoring or measurement.
- Isolation port – suppresses reverse interference; stability enhancer.
- Correct port understanding prevents miswiring and ensures system directivity.
step 02
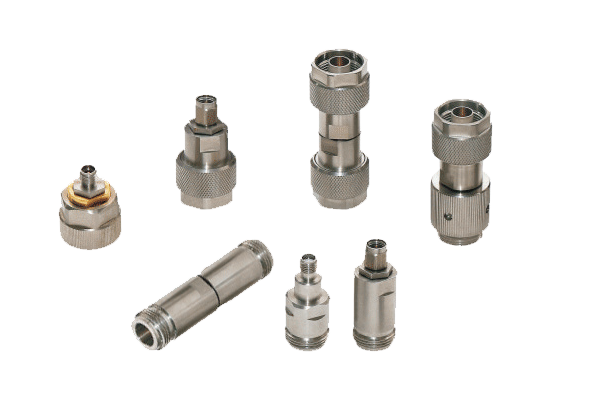
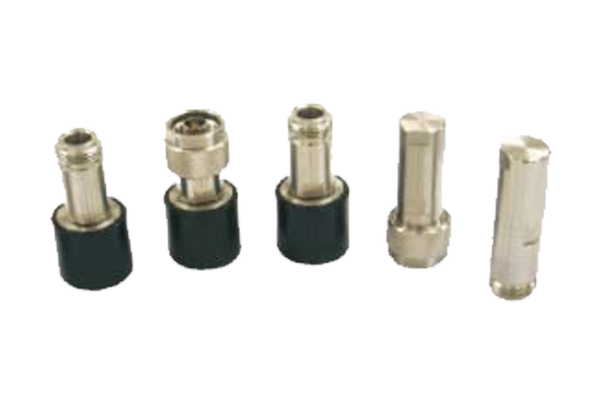
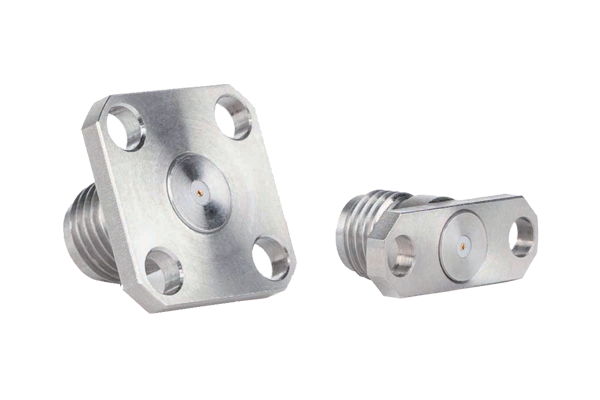
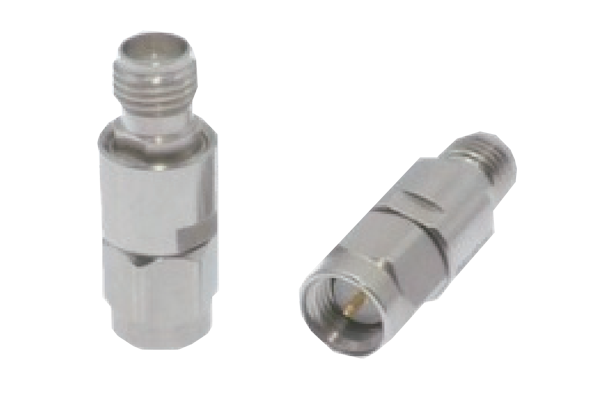
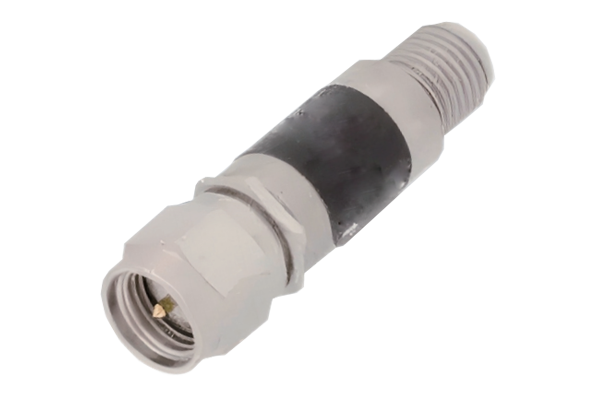
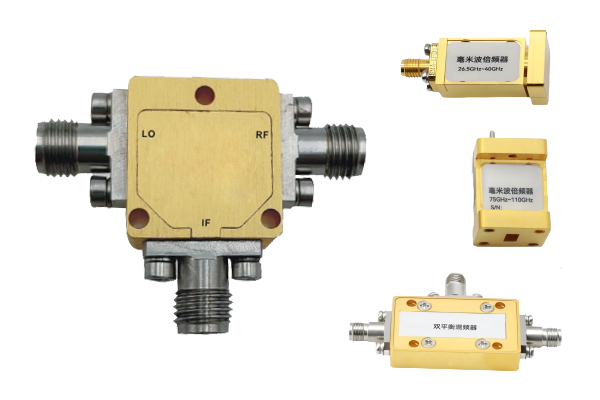
Prepare Adapters
Cables, connectors & securing accessories
- Use RF cables matching bridge coupler port specifications (impedance & frequency range).
- Choose high‑shielded cables to minimise insertion loss and external interference.
- Ensure connectors are fully compatible – avoid loose contacts or signal leakage.
- Prepare insulating tape, cable ties, and strain‑relief devices for organised routing.
- Verify mechanical dimensions and torque requirements before wiring.
step 03
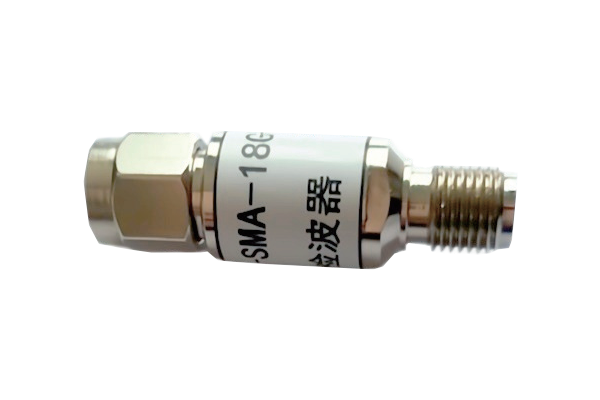
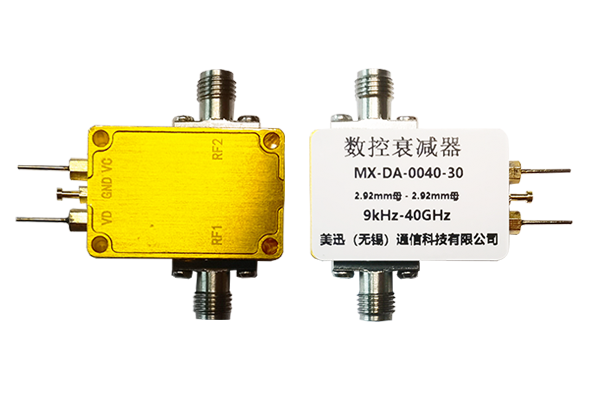
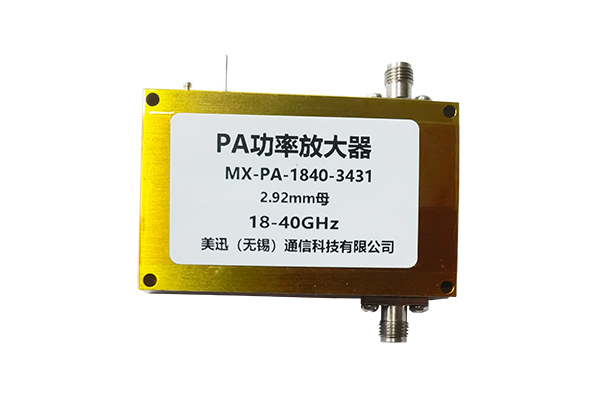
Standardize Wiring
Stepwise connection sequence
- Input connection first – align RF cable, rotate connector gently until firm (avoid forced insertion).
- Through port – connect to downstream receiving equipment, securing main signal path.
- Coupling port – link to monitoring/sampling devices for coupled signal analysis.
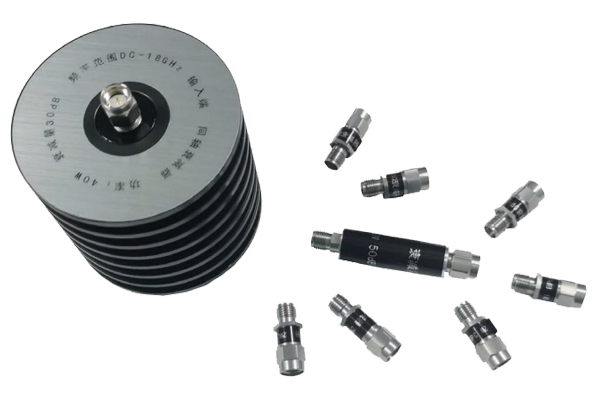
- Isolation port – terminate with matched load (typically 50Ω) to absorb reverse interference.
- Double‑check each interface for securement and correct mechanical orientation.
step 04
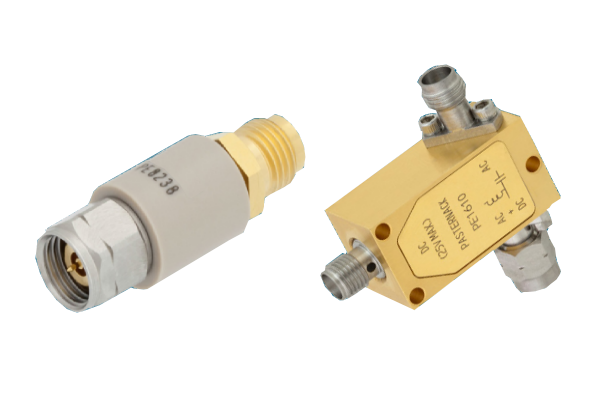
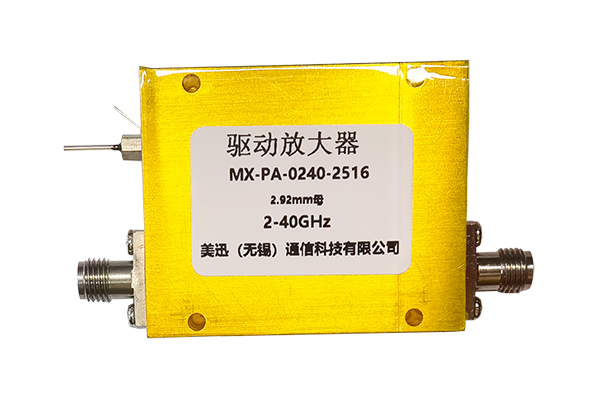
Inspect & Optimize
Verification, test signal & fine‑tuning
- Perform full visual inspection – connectors tight, cables undamaged, no sharp bends.
- Inject a test signal; measure power, return loss, and coupling factor at each port with professional gear.
- If excessive loss or interference appears, re‑examine wiring and port assignments.
- Adjust or replace faulty adapters, reseat connections, verify load termination.
- Iterate debugging until stable, low‑ripple transmission is achieved.
⚡ Verified wiring ensures minimal VSWR and reliable signal sampling.