


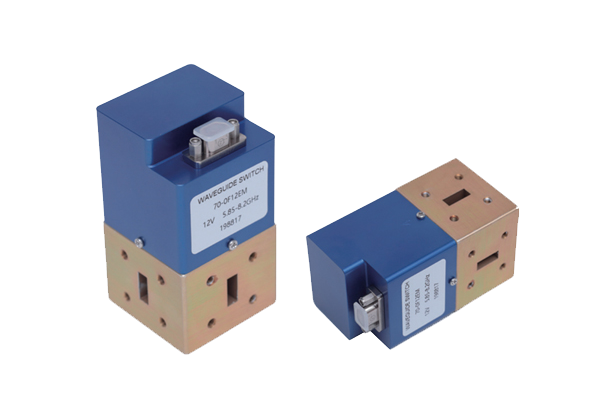


How to install a waveguide switch to ensure its normal operation
Waveguide Switch Installation Guidelines
Pre-Installation Checklist
- Review the manufacturer's installation guidelines carefully
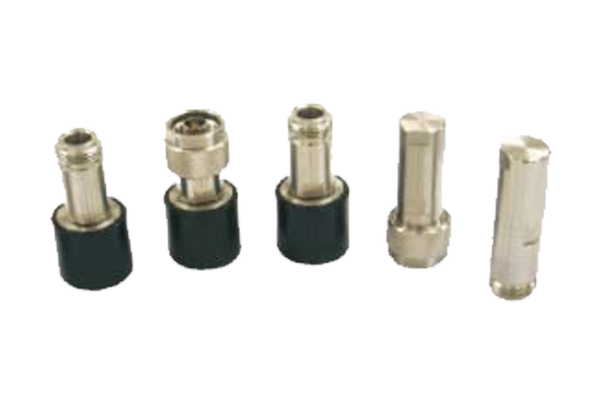
- Inspect the switch and components for physical damage
- Prepare necessary tools (alignment jigs, torque wrenches, cleaning supplies)
Installation Steps
1Preparation
Thorough preparation includes reviewing manufacturer guidelines and inspecting for damage such as cracks on ports or bent connectors.
2Positioning
Ensure the location aligns with system layout, with a flat, stable surface free from vibrations and environmental hazards.
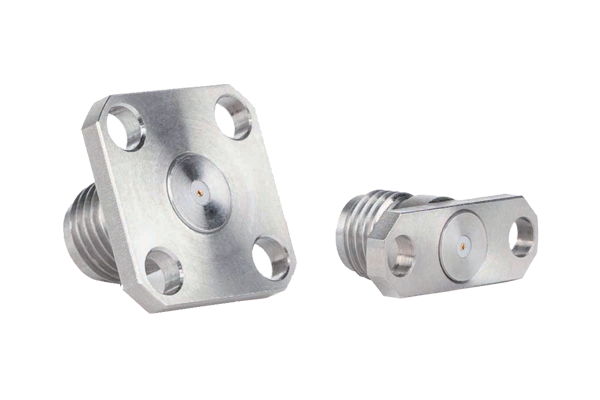
3Alignment
Use alignment tools for precise port alignment. Apply correct torque to fasteners - avoid over-tightening or under-tightening.
4Cleaning & Testing
Clean interfaces with lint-free cloth, then perform functional checks and signal verification tests.
Important Notes
Even small amounts of dust, debris, or oil residue on the port surfaces can interfere with signal transmission. After installation, test the switch's switching cycles to ensure smooth movement between positions, and verify signal integrity using appropriate testing equipment.
Any unusual noises, delays in switching, or signal irregularities should be addressed immediately.