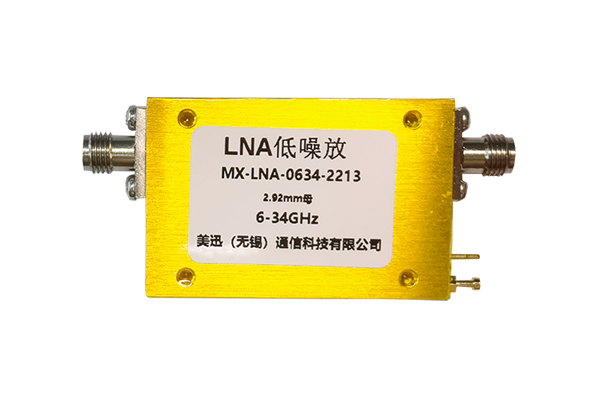
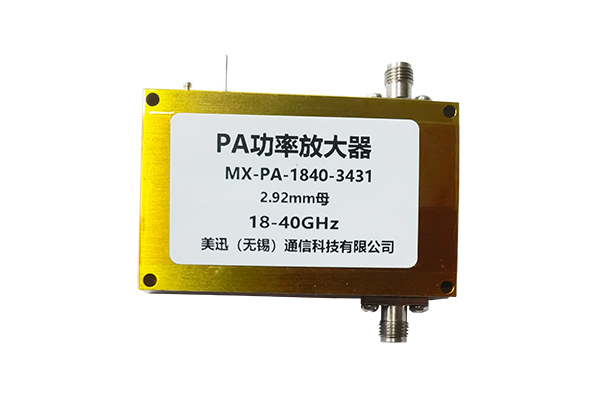
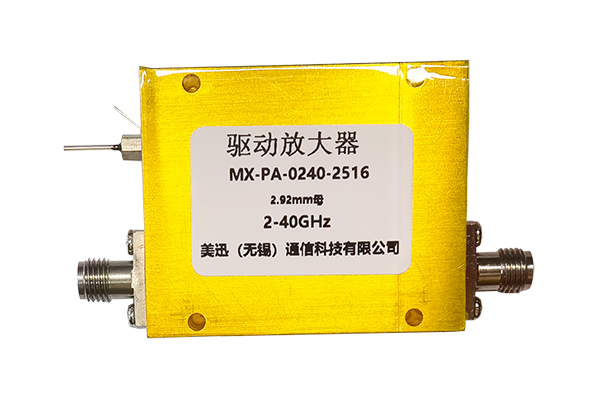
How to install a power amplifier correctly
Power Amplifier Installation Guide
To install a power amplifier correctly, follow these systematic steps to ensure safety, optimal performance, and compatibility with your audio system.
1. Choose a Suitable Location
- Select a well-ventilated area away from heat sources
- Ensure stable placement with space for cable management
-
For car audio:
- Avoid moisture-prone areas
- Use vibration-dampening pads
2. Gather and Prepare Components
-
Power Cables:
- Use thick-gauge wires (e.g., 8 AWG or lower)
- Install fuse within 18 inches of battery
-
Ground Cable:
- Connect to clean metal chassis point
- Poor ground causes noise or damage
-
Signal Cables:
- Use shielded RCA cables
- Keep separate from power cables
3. Connect Power and Ground
-
Power Connection:
- Positive cable to battery's "+" terminal
- Ensure tight, insulated connections
-
Ground Connection:
- Strip wire for bare metal contact
- Secure to designated ground point
-
Fuse Installation:
- Match fuse rating to amp's power
- Example: 300W amp at 12V needs 30-40A fuse
4. Link Signal Inputs and Outputs
-
Input Connection:
- RCA cables from source to amp's Line In
- For car audio: use high-level input adapter if needed
-
Output Connection:
- Match polarity (+ to +, - to -)
- Use banana plugs or spade connectors
5. Set Configuration and Safety Checks
-
Gain Settings:
- Match to source output level
- Avoid clipping
-
Crossover Settings:
- Configure for subwoofers/satellites
-
Power Sequence:
- Source device first, then amp
- Check for unusual noises/smoke
6. Test and Optimize
-
Initial Testing:
- Start at low volume
- Gradually increase to check for distortion
-
Voltage Check:
- ~12V for car systems
- Stable AC for home amps
-
Final Adjustments:
- Secure all cables
- For cars: use loom tubing and secure away from moving parts


