

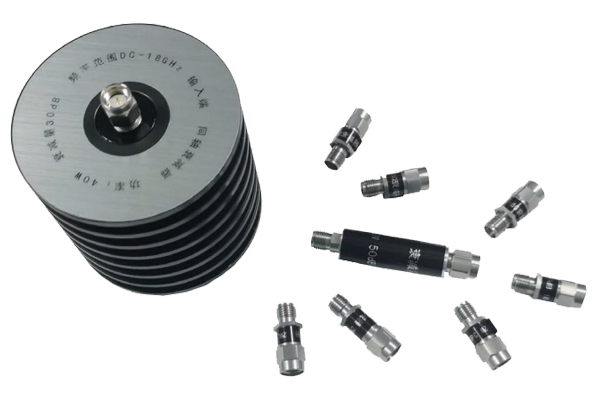
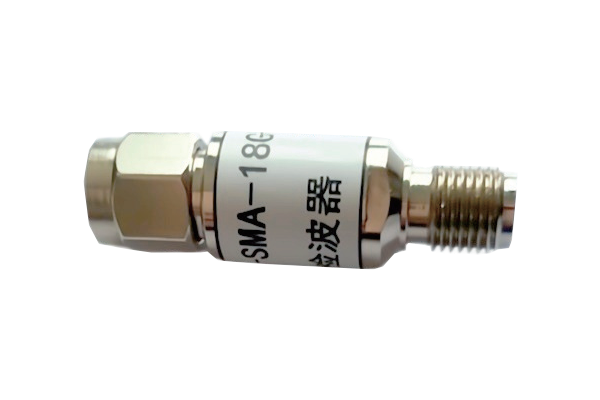


How to Correctly Connect an RF Attenuator
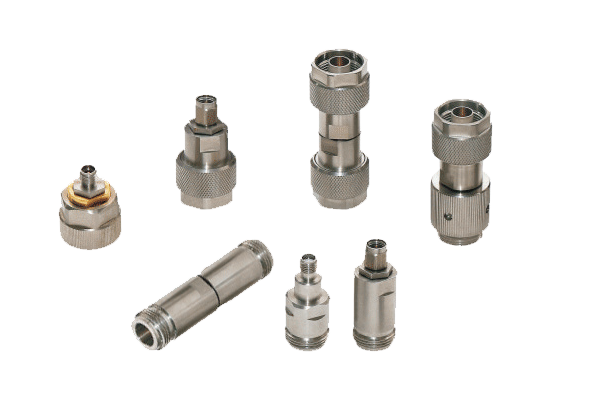
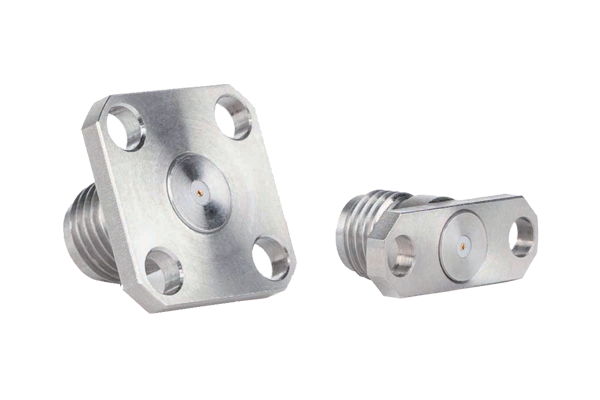
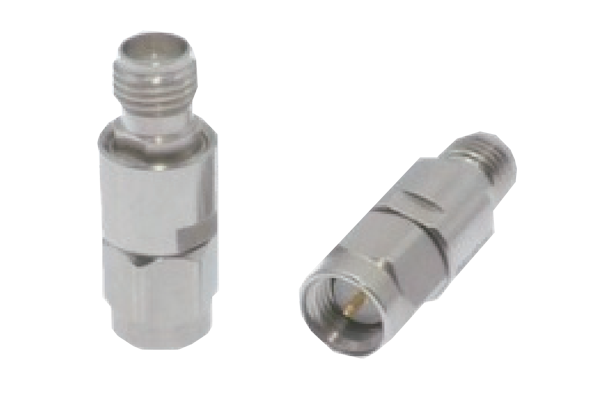
1. Confirm Interface Compatibility
- Carefully verify interface types of attenuator and connected devices to ensure consistency and avoid incorrect connections that may cause signal leakage or equipment damage.
- Inspect interface surfaces for stains, scratches, or damage; clean any impurities to guarantee good contact.
- Proper interface preparation lays the foundation for stable signal transmission and prevents link failures caused by incompatibility.
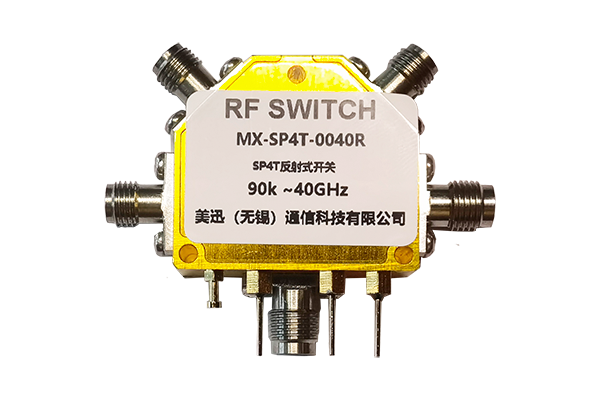
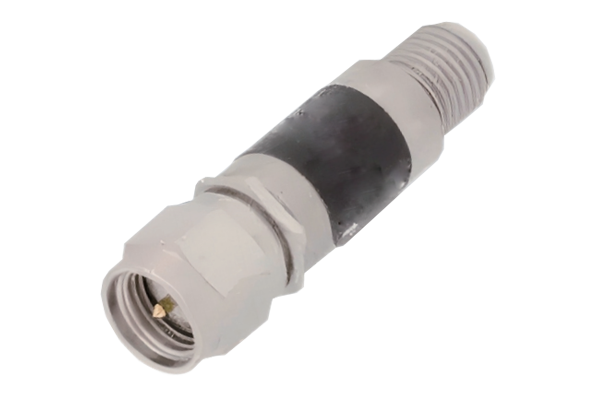
2. Follow the Correct Connection Sequence
- Adhere to signal flow direction and connect the attenuator in the correct position within the RF link.
- Always disconnect power from all devices before starting any connection work.
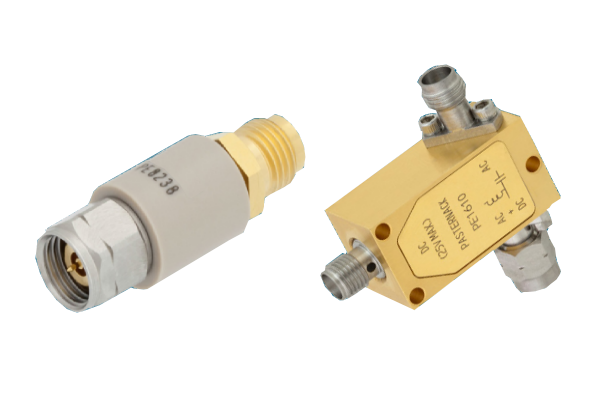
- Connect one end to the front‑end output device and the other end to the back‑end receiving device.
- Never connect while the circuit is powered on to prevent device breakdown and ensure personnel safety.
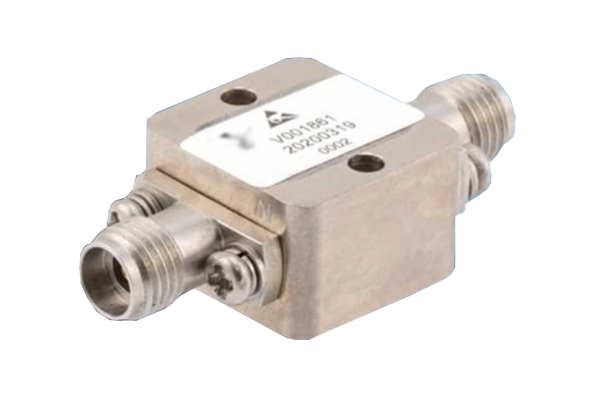
3. Ensure a Secure Connection
- Gently rotate the connector to achieve a firm fit without loosening; avoid excessive force that could damage threads or internal components.
- After connection, gently shake the connector to check for any looseness.
- Prevent poor contact that could lead to signal attenuation, distortion, or interruption, ensuring stable link transmission.
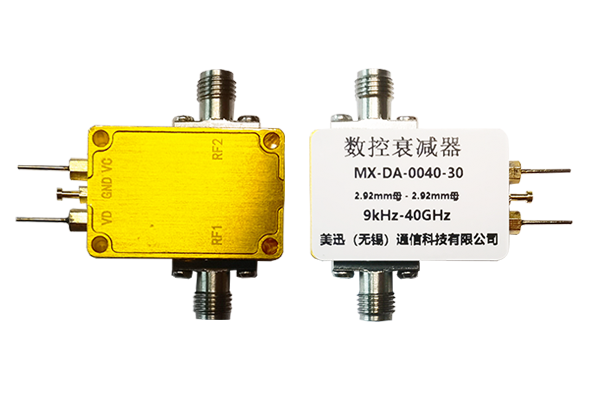
4. Check Link Status
- After connection, power on the equipment and verify overall link status: observe signal transmission for leakage, noise, or interference.
- If any abnormality is detected, immediately disconnect power and troubleshoot the connection.
- Readjust until the signal is stable, ensuring the attenuator functions properly within the system.