

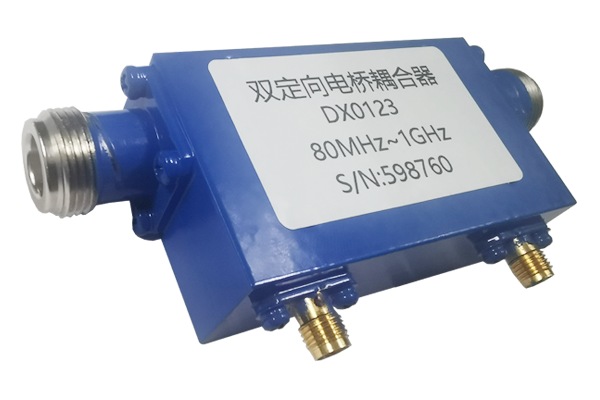
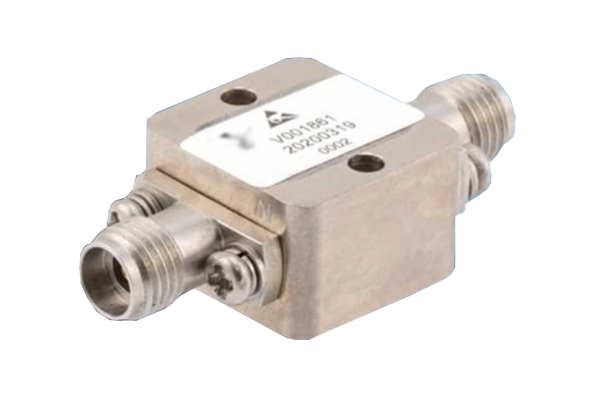


How to calibrate the Dual Directional Coupler
Dual Directional Coupler Calibration Procedure
1. Test System Setup
Establish a stable test environment with precision instruments before beginning calibration. This foundational step ensures measurement accuracy throughout the process.
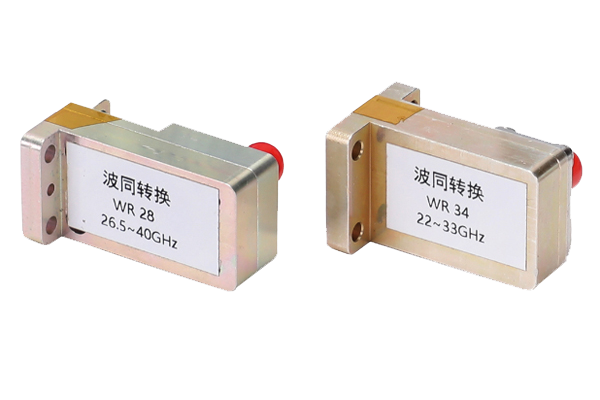
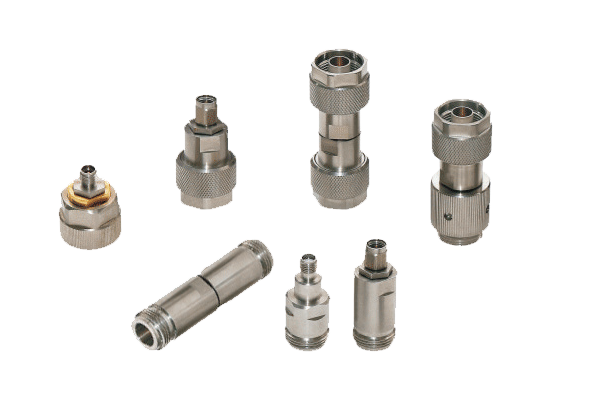
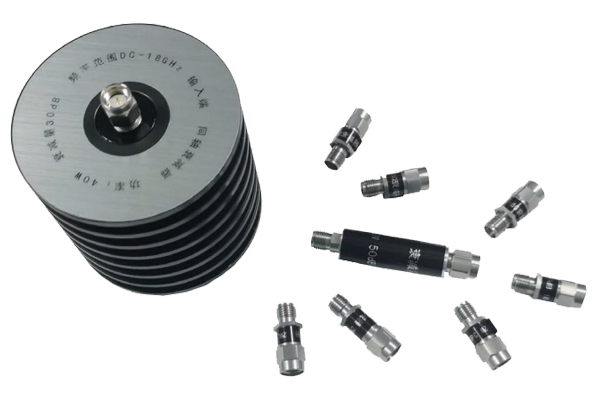
Critical Equipment: Signal source, spectrum analyzer or vector network analyzer, impedance-matched cables. Verify all connections are secure and cables are undamaged to prevent measurement errors.
Pre-Calibration Checklist
- Verify instrument calibration status
- Confirm 50Ω impedance matching throughout system
- Allow equipment warm-up time (minimum 30 minutes)
- Establish proper grounding
- Document ambient temperature and humidity
2. Port Matching Verification
Initial Diagnostic: Inject stable test signal into main input port while monitoring reflection port energy. Abnormal reflections indicate potential connection issues.
Troubleshooting Steps
- Inspect all RF connectors for tightness
- Verify cable integrity with time-domain reflectometry
- Check for proper torque on all connections
- Test with known-good cables if available
3. Coupling Degree Calibration
With standard load connected, compare signal strengths between main and coupled ports to determine actual coupling factor. Adjust physical parameters as needed to match design specifications.
Precision Adjustment: Fine-tune transmission line spacing or coupling element positioning to achieve theoretical coupling values. Document all adjustments for traceability.
Calibration Methodology
- Use calibrated power meter for absolute measurements
- Maintain consistent signal level (typically 0 dBm)
- Measure both forward and reverse coupling
- Verify directivity exceeds specification
4. Isolation Calibration
Measure signal leakage between isolated ports and optimize internal structures to minimize crosstalk, ensuring compliance with isolation requirements.
Isolation Enhancement Techniques
- Improve internal shielding effectiveness
- Optimize transmission line spacing
- Implement absorptive materials
- Adjust ground plane configurations
- Verify isolation across entire frequency band
5. Frequency Response Validation
Perform comprehensive sweep testing across specified frequency range to verify consistent performance. Document results at multiple test points for quality assurance.
Final Verification Steps
- Test at minimum 5 points per octave
- Verify flatness meets specifications
- Check for resonances or anomalies
- Repeat critical band measurements
- Document all final parameters