

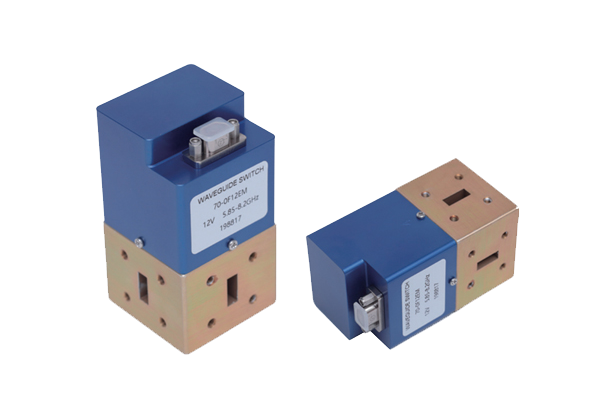


How to Calibrate a Waveguide Switch
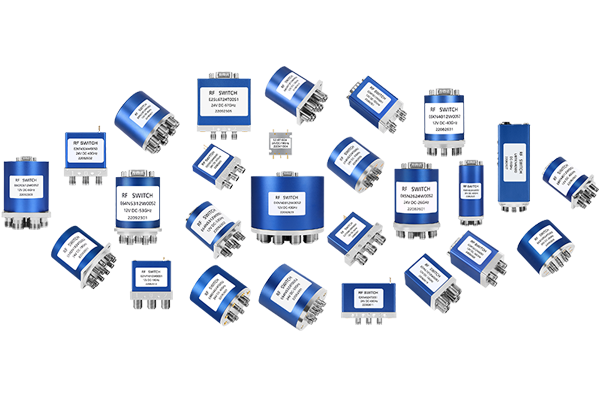
Waveguide Switch Calibration
Step-by-step procedure for optimal performance
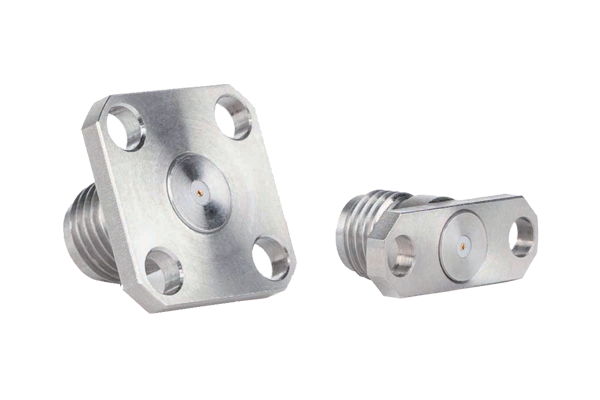
Before calibration, inspect the appearance and connection status of the Waveguide Switch to ensure there is no physical damage and that the interface connections are secure and free of foreign matter.
Next, place the switch in a stable operating environment to avoid extreme temperature and humidity fluctuations or electromagnetic interference that could affect calibration accuracy.
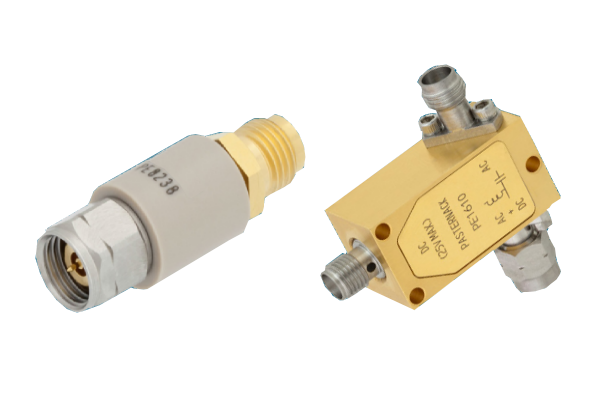
Also, prepare professional calibration equipment, such as a signal generator and power meter, and ensure they are fully calibrated and in accurate working condition.
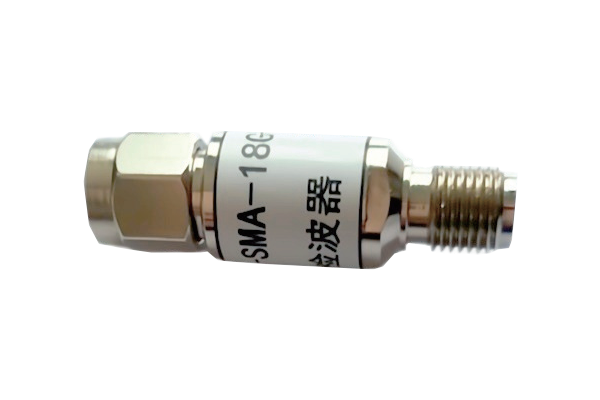
Connect a signal generator to the input of the Waveguide Switch and a power meter to the output.
Output a standard signal of a preset frequency band and intensity from the signal generator. Record the signal strength displayed on the power meter and set this value as the calibration baseline.
During the setup process, ensure the signal generator output is stable to prevent inaccurate baseline parameters due to signal fluctuations. Take multiple measurements and average them to further improve the reliability of the baseline parameters.
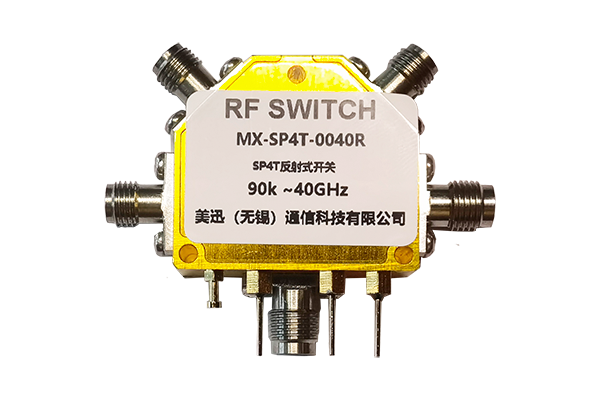
Change the Waveguide Switch into different operating states, performing calibration one by one.
After each switch, observe the signal strength displayed on the power meter and compare it to the set baseline parameters. If there is any deviation, adjust the switch's internal fine-tuning components, such as adjusting the position of the waveguide channel or the sensitivity of the control component.
Keep the signal stable for a period of time in each state to ensure the calibrated state remains stable and avoid recurrence of deviations after brief adjustments.
After completing calibration for all states, perform a comprehensive verification.
Use the signal generator again to output signals of varying frequency bands and intensities, repeatedly switching the Waveguide Switch between states while continuously monitoring the signal data displayed by the power meter.
If the signal strength remains stable within the reference range in all states, and there is no noticeable signal fluctuation or deviation during the switching process, the calibration results are valid.
If any anomalies persist, recheck the calibration steps, identify the problem, and recalibrate until accuracy meets the required standards.